Building a Power Apps Code App with Dataverse Integration
Power Apps Code Apps represent a new way to build applications that combine the power of modern web development with seamless Dataverse integration. In this post, I’ll walk through building a lightweight React application that authenticates to Dataverse and displays system users.
What are Power Apps Code Apps?
Power Apps Code Apps let you build applications using your preferred web frameworks (React, Vue, Angular) while leveraging the Power Platform SDK for authentication and data access. This approach gives you the flexibility of custom code with the security and governance of Power Platform.
Prerequisites
Before getting started, you’ll need:
- Power Apps CLI (PAC CLI) version 1.46 or later
- Node.js installed
- A Dataverse environment with appropriate permissions
- An authenticated PAC CLI profile pointing to your environment
Setting Up Authentication
First, I created an authentication profile for my Dataverse environment:
pac auth create --environment <env-id>
This profile points to my environment and will be used throughout the development process.
Creating the Project
Initialize the Vite React TypeScript Project
I started by creating a new Vite project with React and TypeScript:
cd power-apps-code-apps
npm create vite@latest dataverse-users-app -- --template react-ts
cd dataverse-users-app
Install Dependencies
The key dependencies for a Power Apps Code App are:
@microsoft/power-apps- Power Apps SDK@fluentui/react-components- Microsoft’s Fluent UI components@fluentui/react-icons- Fluent UI icons- React 18.2.0 (required for SDK compatibility)
npm install @microsoft/power-apps react@18.2.0 react-dom@18.2.0 --save-exact
npm install @fluentui/react-components @fluentui/react-icons
Important: Power Apps SDK requires React 18.2.0 specifically. I had to downgrade from React 19 to ensure compatibility.
Configure Vite
Update vite.config.ts to set the correct base path and port:
import { defineConfig } from 'vite'
import react from '@vitejs/plugin-react'

export default defineConfig({
  base: "./",
  server: {
    host: "::",
    port: 3000,
  },
  plugins: [react()],
})
Update Package Scripts
Modify package.json to run both Vite and PAC Code Run together:
{
  "scripts": {
    "dev": "start /B vite && pac code run",
    "dev:vite": "vite",
    "build": "tsc -b && vite build",
    "lint": "eslint .",
    "preview": "vite preview"
  }
}
The dev script uses start /B to run Vite in the background and then starts pac code run in the same terminal. This simplifies development by running both servers with a single command.
Initialize Power Apps Code Integration
With the project structure in place, I initialized Power Apps Code integration:
pac code init --displayName "Dataverse Users App" --description "A lightweight app to display system users from Dataverse"
This command creates a power.config.json file that contains the app configuration.
Adding Dataverse as a Data Source
The next step is connecting to the systemuser table in Dataverse:
pac code add-data-source -a dataverse -t systemuser
This command generates two crucial files in the src/generated folder:
models/SystemusersModel.ts- TypeScript interface for the systemuser tableservices/SystemusersService.ts- Service class with CRUD methods
These generated files provide type-safe access to Dataverse data.
Known Issue: Data Source Name
Note: I encountered a known issue where the generated SystemusersService.ts file had an incorrect data source name. I had to manually update this line:
private static readonly dataSourceName = 'systemusers';
This issue affects PAC CLI versions prior to 1.50.1, Updating to the latest version of the PAC CLI should resolve this permanently.
Building the Application
Create PowerProvider Component
The Power Apps SDK requires a provider component. Create src/PowerProvider.tsx:
import type { ReactNode } from 'react';

interface PowerProviderProps {
  children: ReactNode;
}

export default function PowerProvider({ children }: PowerProviderProps) {
  return <>{children}</>;
}
Update main.tsx
Wrap the app with both PowerProvider and FluentProvider:
import { StrictMode } from 'react'
import { createRoot } from 'react-dom/client'
import { FluentProvider, webLightTheme } from '@fluentui/react-components'
import PowerProvider from './PowerProvider.tsx'
import './index.css'
import App from './App.tsx'

createRoot(document.getElementById('root')!).render(
  <StrictMode>
    <PowerProvider>
      <FluentProvider theme={webLightTheme}>
        <App />
      </FluentProvider>
    </PowerProvider>
  </StrictMode>,
)
Implement the App Component
The main App component handles SDK initialization, data loading, and UI rendering. Here are the key parts:
SDK Initialization
import { useEffect, useState } from 'react';
import { initialize } from '@microsoft/power-apps/app';
import { SystemusersService } from './generated/services/SystemusersService';
import type { Systemusers } from './generated/models/SystemusersModel';

function App() {
  const [isInitialized, setIsInitialized] = useState(false);
  const [loading, setLoading] = useState(true);
  const [users, setUsers] = useState<Systemusers[]>([]);

  // Initialize Power Apps SDK
  useEffect(() => {
    const init = async () => {
      try {
        await initialize();
        setIsInitialized(true);
      } catch (err) {
        console.error('Failed to initialize Power Apps SDK:', err);
        setError('Failed to initialize. Ensure you are running with pac code run.');
        setLoading(false);
      }
    };

    init();
  }, []);

  // ... rest of component
}
This pattern is critical: the SDK must be initialized before making any data calls. The initialize() function returns a promise that resolves when the SDK is ready.
Loading Data from Dataverse
Once initialized, query the systemuser table:
useEffect(() => {
  if (!isInitialized) return;

  const loadUsers = async () => {
    try {
      setLoading(true);
      setError(null);

      const result = await SystemusersService.getAll({
        select: [
          'systemuserid',
          'fullname',
          'internalemailaddress',
          'isdisabled',
          'domainname',
          'title',
        ],
        orderBy: ['fullname asc'],
        top: 100,
      });

      if (result.success && result.data) {
        setUsers(result.data);

        const total = result.data.length;
        const disabled = result.data.filter(u => u.isdisabled).length;
        const enabled = total - disabled;

        setStats({ total, enabled, disabled });
      } else {
        setError('Failed to retrieve users from Dataverse.');
      }
    } catch (err) {
      console.error('Failed to load users:', err);
      setError(`Error loading users: ${err instanceof Error ? err.message : 'Unknown error'}`);
    } finally {
      setLoading(false);
    }
  };

  loadUsers();
}, [isInitialized]);
Key points:
- Always use the
selectparameter to limit the columns retrieved (best practice) - The
getAll()method supports filtering, sorting, and paging - Check both
result.successandresult.databefore using the data
Working with Select and Filter
The SystemusersService.getAll() method supports powerful querying capabilities through its options parameter. Understanding how to use select and filter is essential for building efficient applications.
Using Select to Limit Columns
The select parameter specifies exactly which columns to retrieve from Dataverse. This is critical for performance - only request the data you need:
const result = await SystemusersService.getAll({
  select: [
    'systemuserid',
    'fullname',
    'internalemailaddress',
    'isdisabled',
    'domainname',
    'title',
  ],
  top: 100,
});
Without select, Dataverse returns all columns, which increases bandwidth usage and response time. Always be explicit about which columns your application needs.
Using Filter for Precise Queries
The filter parameter uses OData query syntax to filter records server-side. For example, to show only interactive users (excluding application users and system accounts):
const result = await SystemusersService.getAll({
  select: [
    'systemuserid',
    'fullname',
    'internalemailaddress',
    'isdisabled',
  ],
  filter: 'accessmode eq 0',
  orderBy: ['fullname asc'],
  top: 100,
});
The filter syntax follows OData query conventions
Building the UI with Fluent UI
I used Fluent UI’s DataGrid component for displaying users:
const columns: TableColumnDefinition<Systemusers>[] = [
  createTableColumn<Systemusers>({
    columnId: 'fullname',
    renderHeaderCell: () => 'Full Name',
    renderCell: (item) => (
      <TableCellLayout>
        <Text weight="semibold">{item.fullname || 'N/A'}</Text>
      </TableCellLayout>
    ),
  }),
  createTableColumn<Systemusers>({
    columnId: 'email',
    renderHeaderCell: () => 'Email',
    renderCell: (item) => (
      <TableCellLayout>
        {item.internalemailaddress || 'N/A'}
      </TableCellLayout>
    ),
  }),
  createTableColumn<Systemusers>({
    columnId: 'status',
    renderHeaderCell: () => 'Status',
    renderCell: (item) => (
      <TableCellLayout>
        {item.isdisabled ? (
          <Badge color="danger" appearance="filled" icon={<DismissCircleRegular />}>
            Disabled
          </Badge>
        ) : (
          <Badge color="success" appearance="filled" icon={<CheckmarkCircleRegular />}>
            Enabled
          </Badge>
        )}
      </TableCellLayout>
    ),
  }),
];
The DataGrid provides sorting, resizing, and a professional look that matches Microsoft 365 applications.
Running the Application
To run the app locally, use the combined dev script:
npm run dev
This single command starts both the Vite development server and the PAC Code Run middleware. Vite will automatically find an available port (typically 3000, 3001, or 3002), and PAC Code Run will start on port 8080.
The terminal output provides the Power Apps URL to test your app:
power.config.json is available at http://localhost:8080/
You can test the app locally at the following url:
https://apps.powerapps.com/play/e/{environment-id}/a/local?_localAppUrl=http://localhost:3000/&_localConnectionUrl=http://localhost:8080/
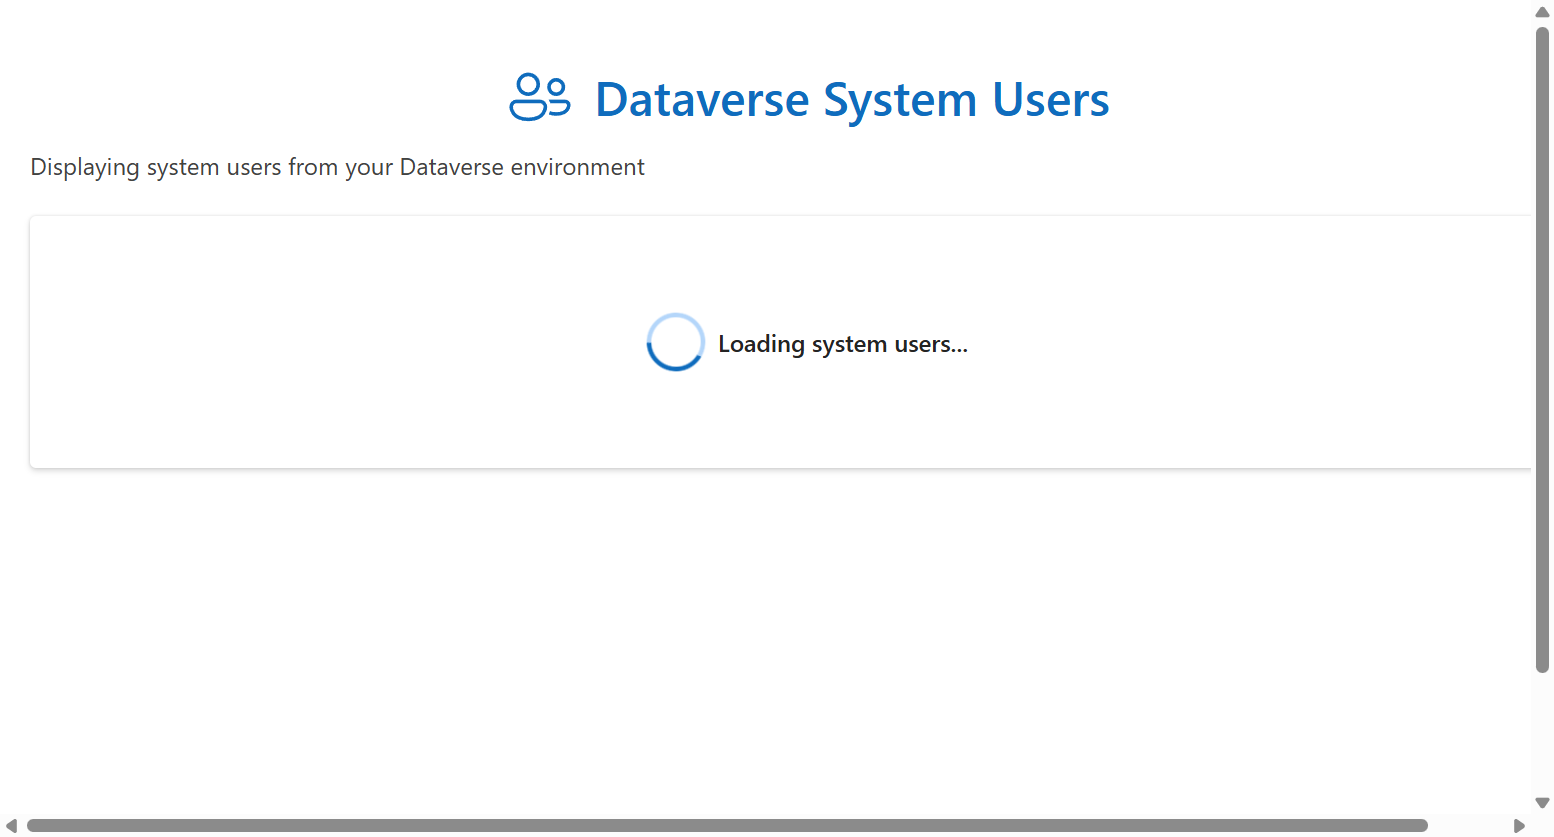
The application launches with a clean loading state:
Once the data loads, the application displays interactive system users with statistics and a sortable grid:
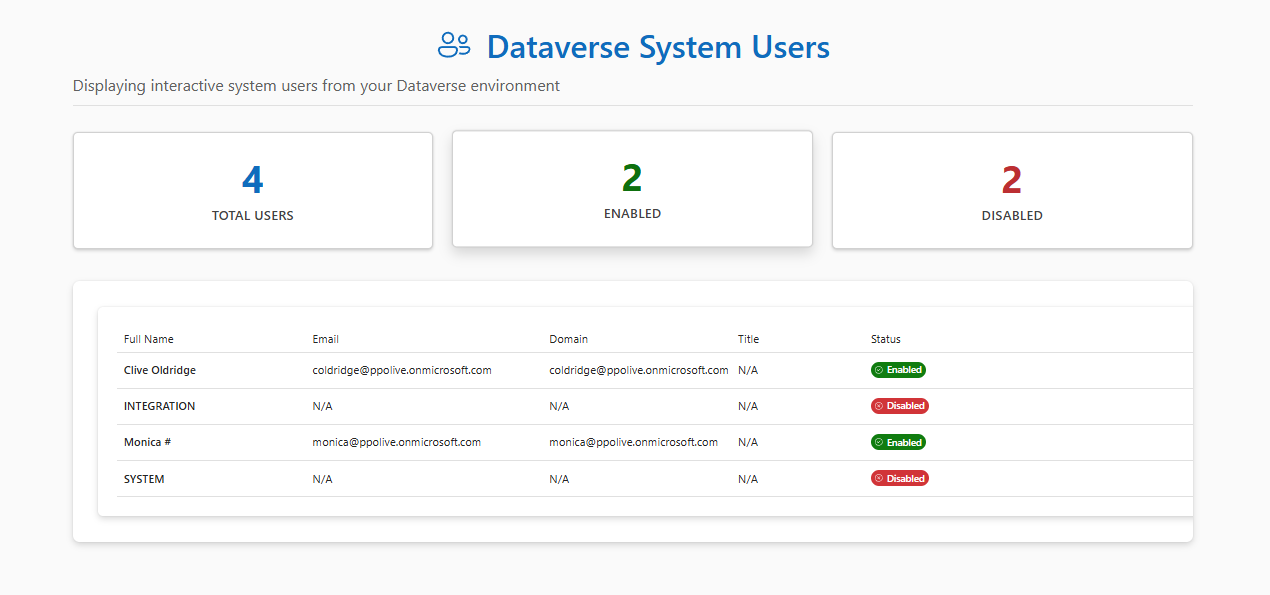
The interface includes:
- Color-coded stat cards showing total, enabled, and disabled user counts
- A responsive DataGrid with sortable and resizable columns
- Status badges with icons for quick visual identification
- Clean, modern styling that matches Microsoft 365 design patterns
Key Learnings
React Version Matters
Power Apps SDK requires React 18.2.0 specifically. Attempting to use React 19 will cause compilation errors. Always pin to the exact version:
{
  "dependencies": {
    "react": "18.2.0",
    "react-dom": "18.2.0"
  }
}
Single Command Development
The updated dev script simplifies the development workflow by running both required servers with one command:
npm run dev
This starts:
- Vite development server (with hot module reloading)
- PAC Code Run middleware (for authentication and Dataverse connectivity)
If you need to run just Vite for some reason, use npm run dev:vite.
Unlike traditional web apps, Power Apps Code Apps require two servers during development. The middleware handles authentication and proxies Dataverse requests securely.
SDK Must Initialize First
Never attempt Dataverse operations before the SDK initializes. Use the pattern of waiting for initialization in a useEffect hook, then gating data operations on the isInitialized state.
Generated Files Are Your Friend
The files generated by pac code add-data-source provide type-safe interfaces and service methods. Don’t modify these files directly as they’re regenerated when you add or update data sources.
Next Steps
This lightweight application demonstrates the core concepts of Power Apps Code Apps:
- Authentication through PAC CLI
- SDK initialization and lifecycle management
- Type-safe Dataverse queries with generated services
- Modern UI with Fluent UI components
You can extend this foundation by:
- Adding create, update, and delete operations
- Implementing filtering and search functionality
- Connecting to multiple Dataverse tables
- Deploying to Power Apps for production use
The combination of modern web development tools with Power Platform integration opens up new possibilities for building enterprise applications that are both powerful and maintainable.